
Configure Sitewide Js, Pre Js and Post Js in CrowAI
Overview
CrowAI lets you inject your JavaScript to your website. Run it across your whole site with Sitewide Js, or on a single test with Pre Js and Post Js.
Sitewide Js
Sitewide Js runs on every page for every visitor, before any test is applied. It runs while at least one test or rollout is running in your workspace.
Common use cases:
- Track custom events that several tests use, such as add to cart, in one place.
- Copy values from local storage or the URL into cookies, so your audiences can target them.
- Add code for a third-party tool once, instead of in each test.
Pre Js
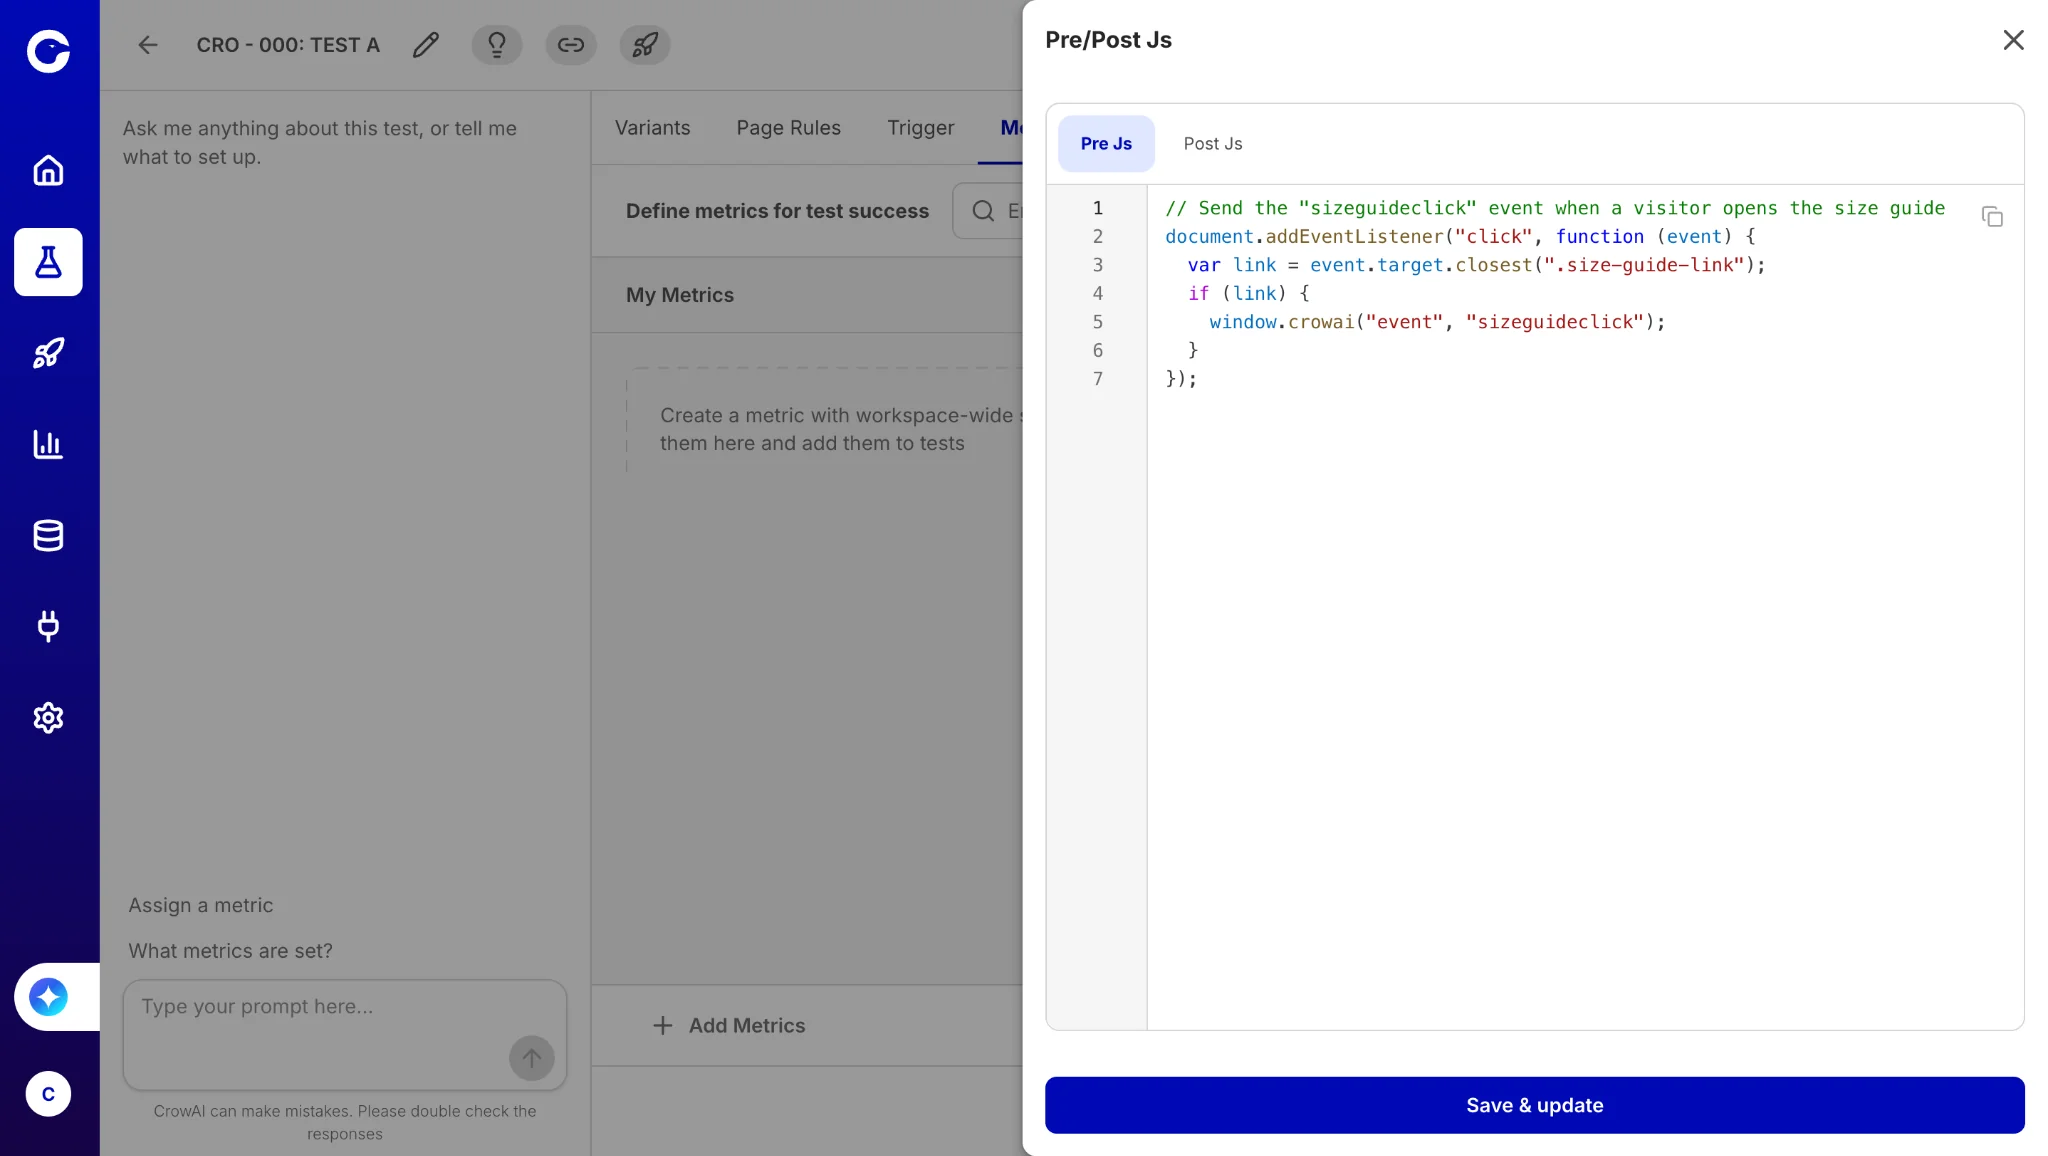
Pre Js runs for visitors in a test, before the variant is applied. It runs on the test's page URLs and its custom event page URLs.
Common use cases:
- Track a custom event that the specific test needs.
- Set up values or functions that the variant's code uses.
Post Js
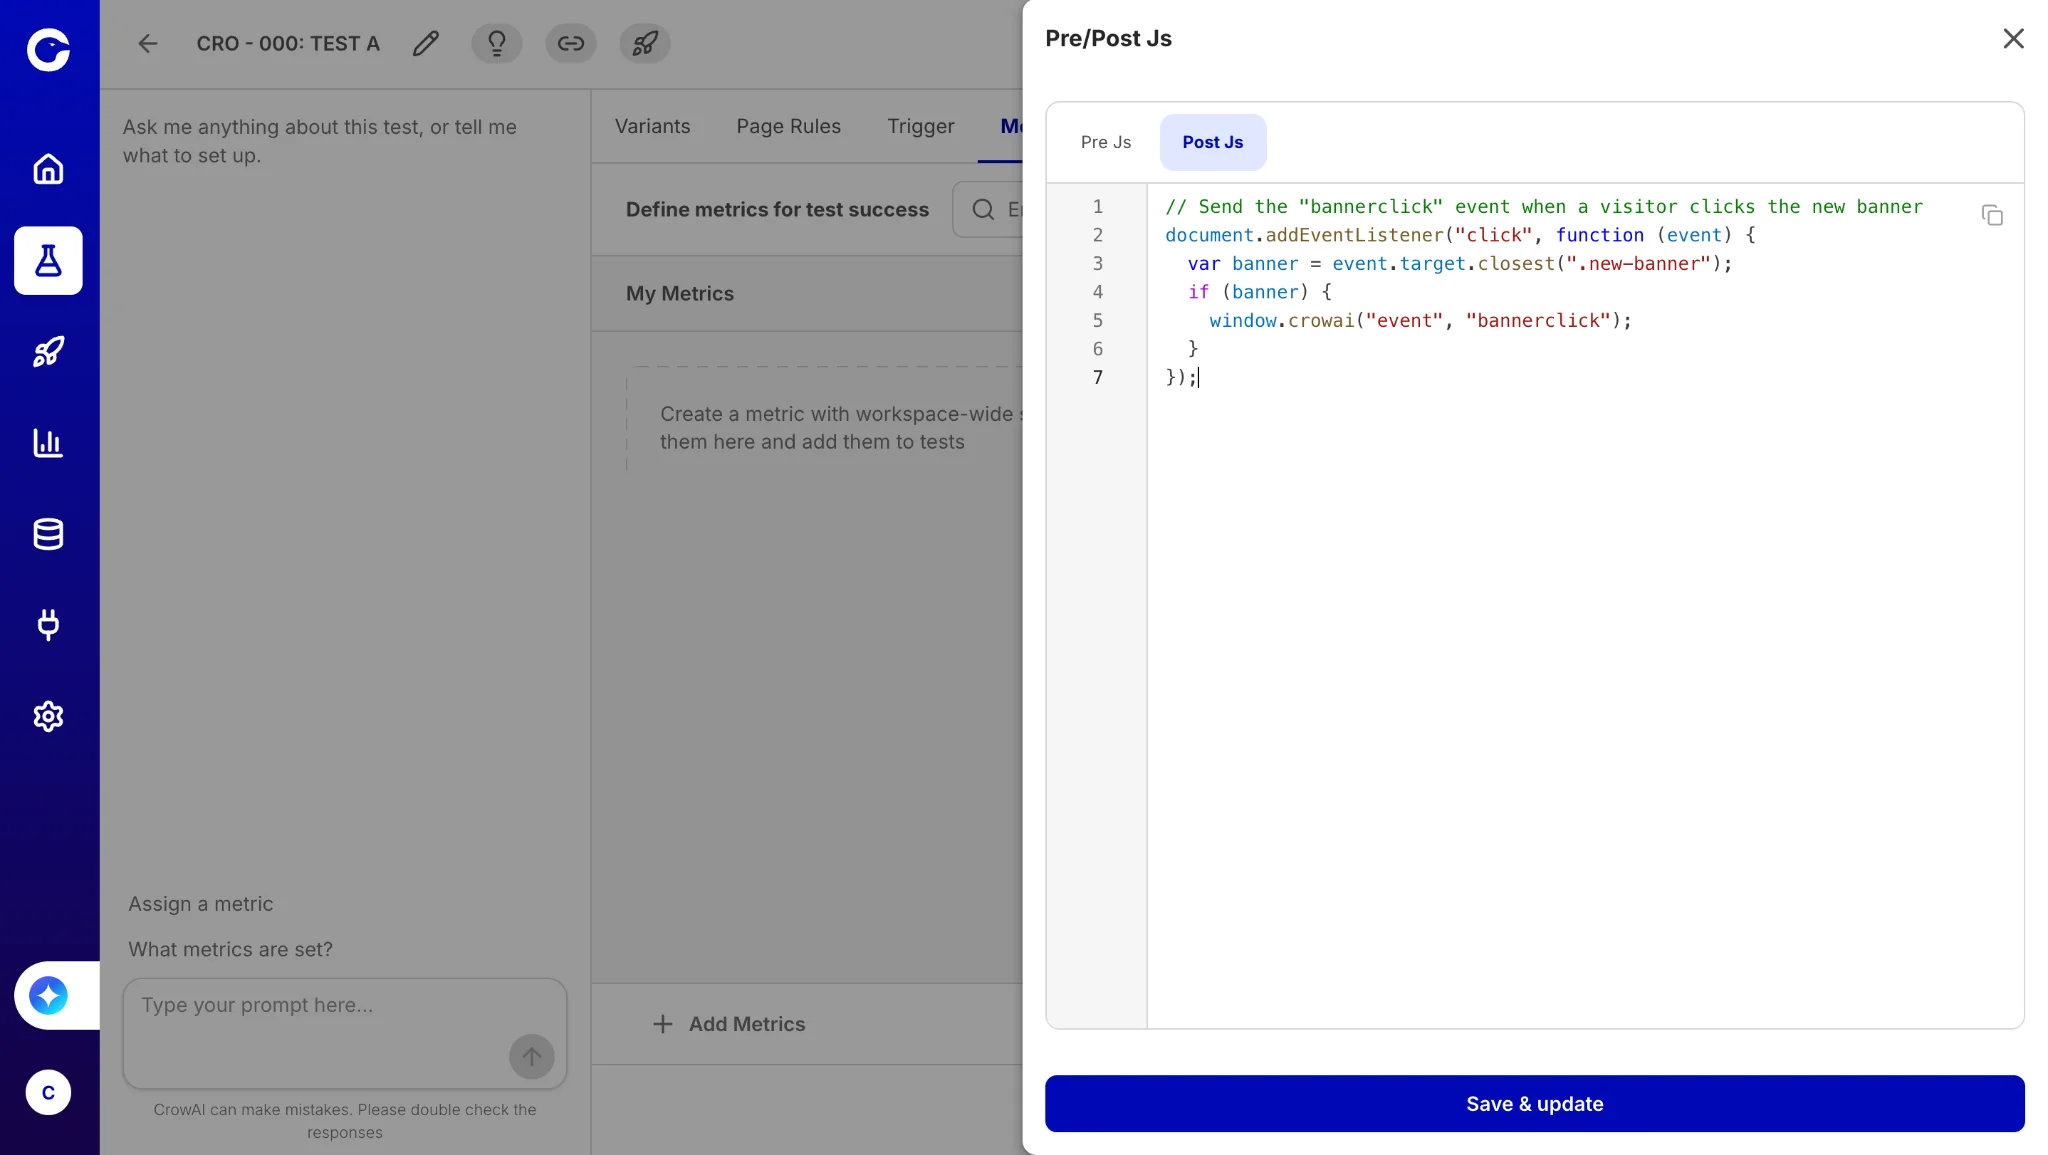
Post Js runs for visitors in a test, after the variant is applied, on the test's page URLs.
Common use cases:
- Track clicks on elements the variant added or changed, such as a new banner.
- Send the test and variant data a visitor saw to your other analytics tools.
- Show a survey or popup based on the variant a visitor saw.
Set up Sitewide Js
Step 1: Open Sitewide Js
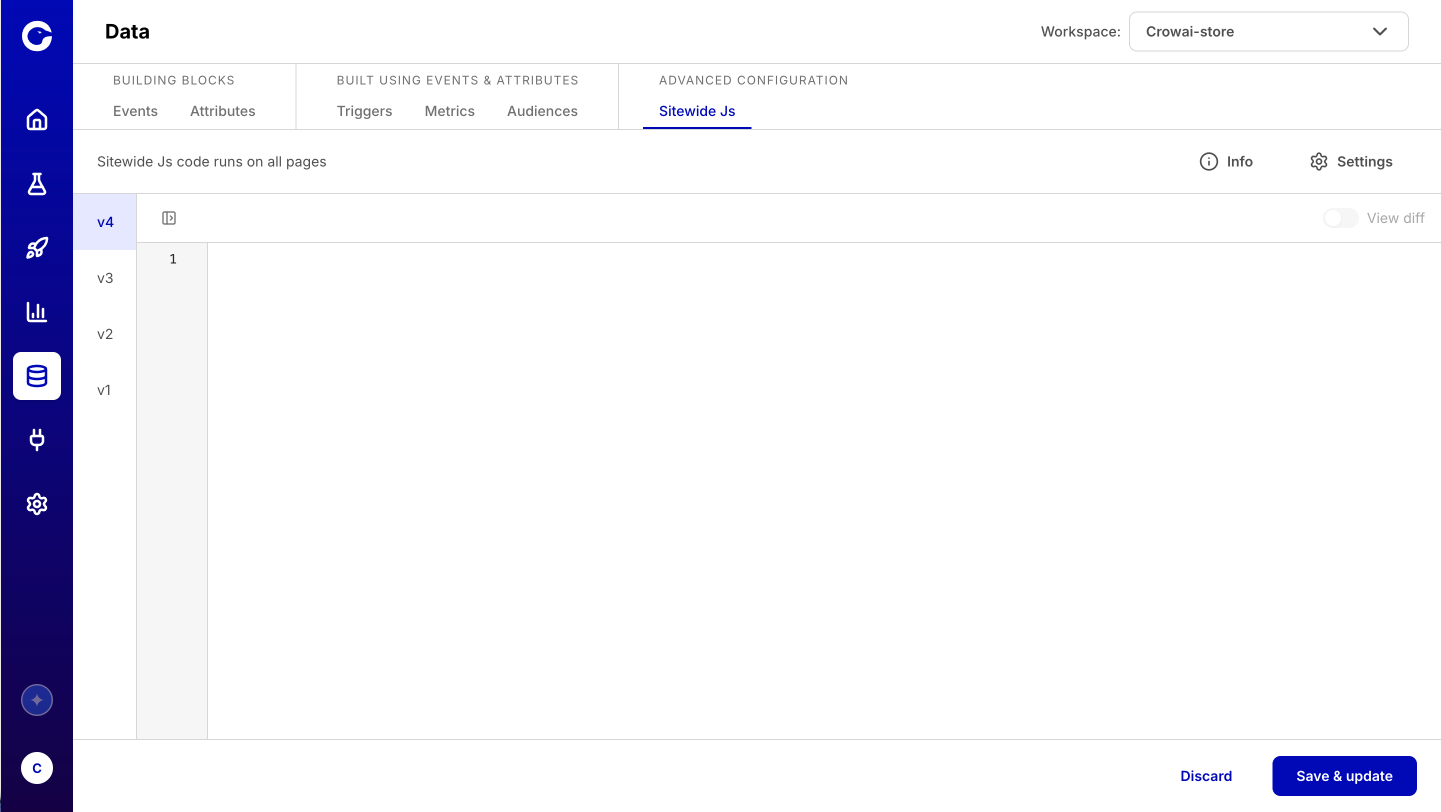
Go to Data and select Sitewide Js under Advanced Configuration.
Step 2: Add your code
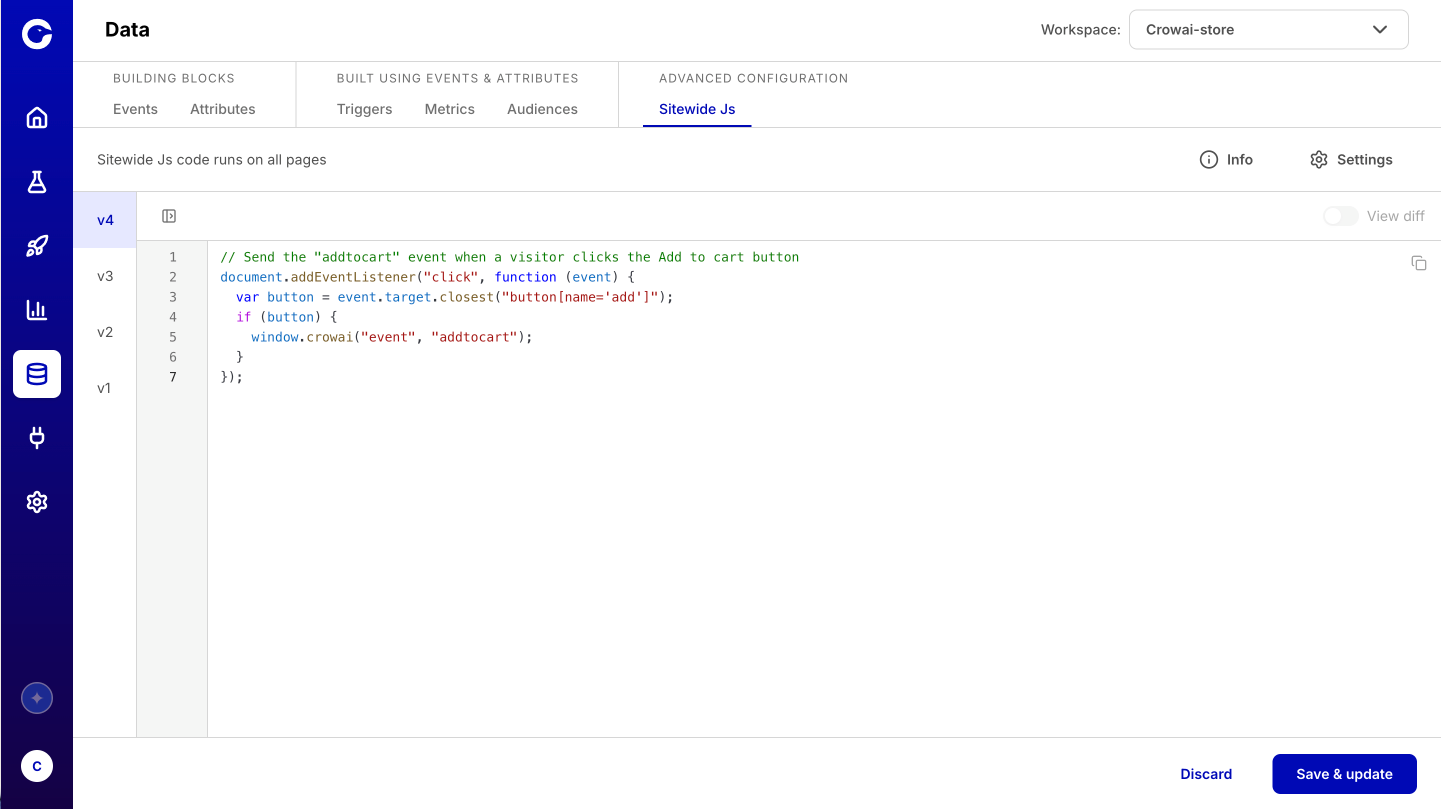
Paste your JavaScript into the editor. The maximum size is 64 KB.
Step 3: Configure the settings
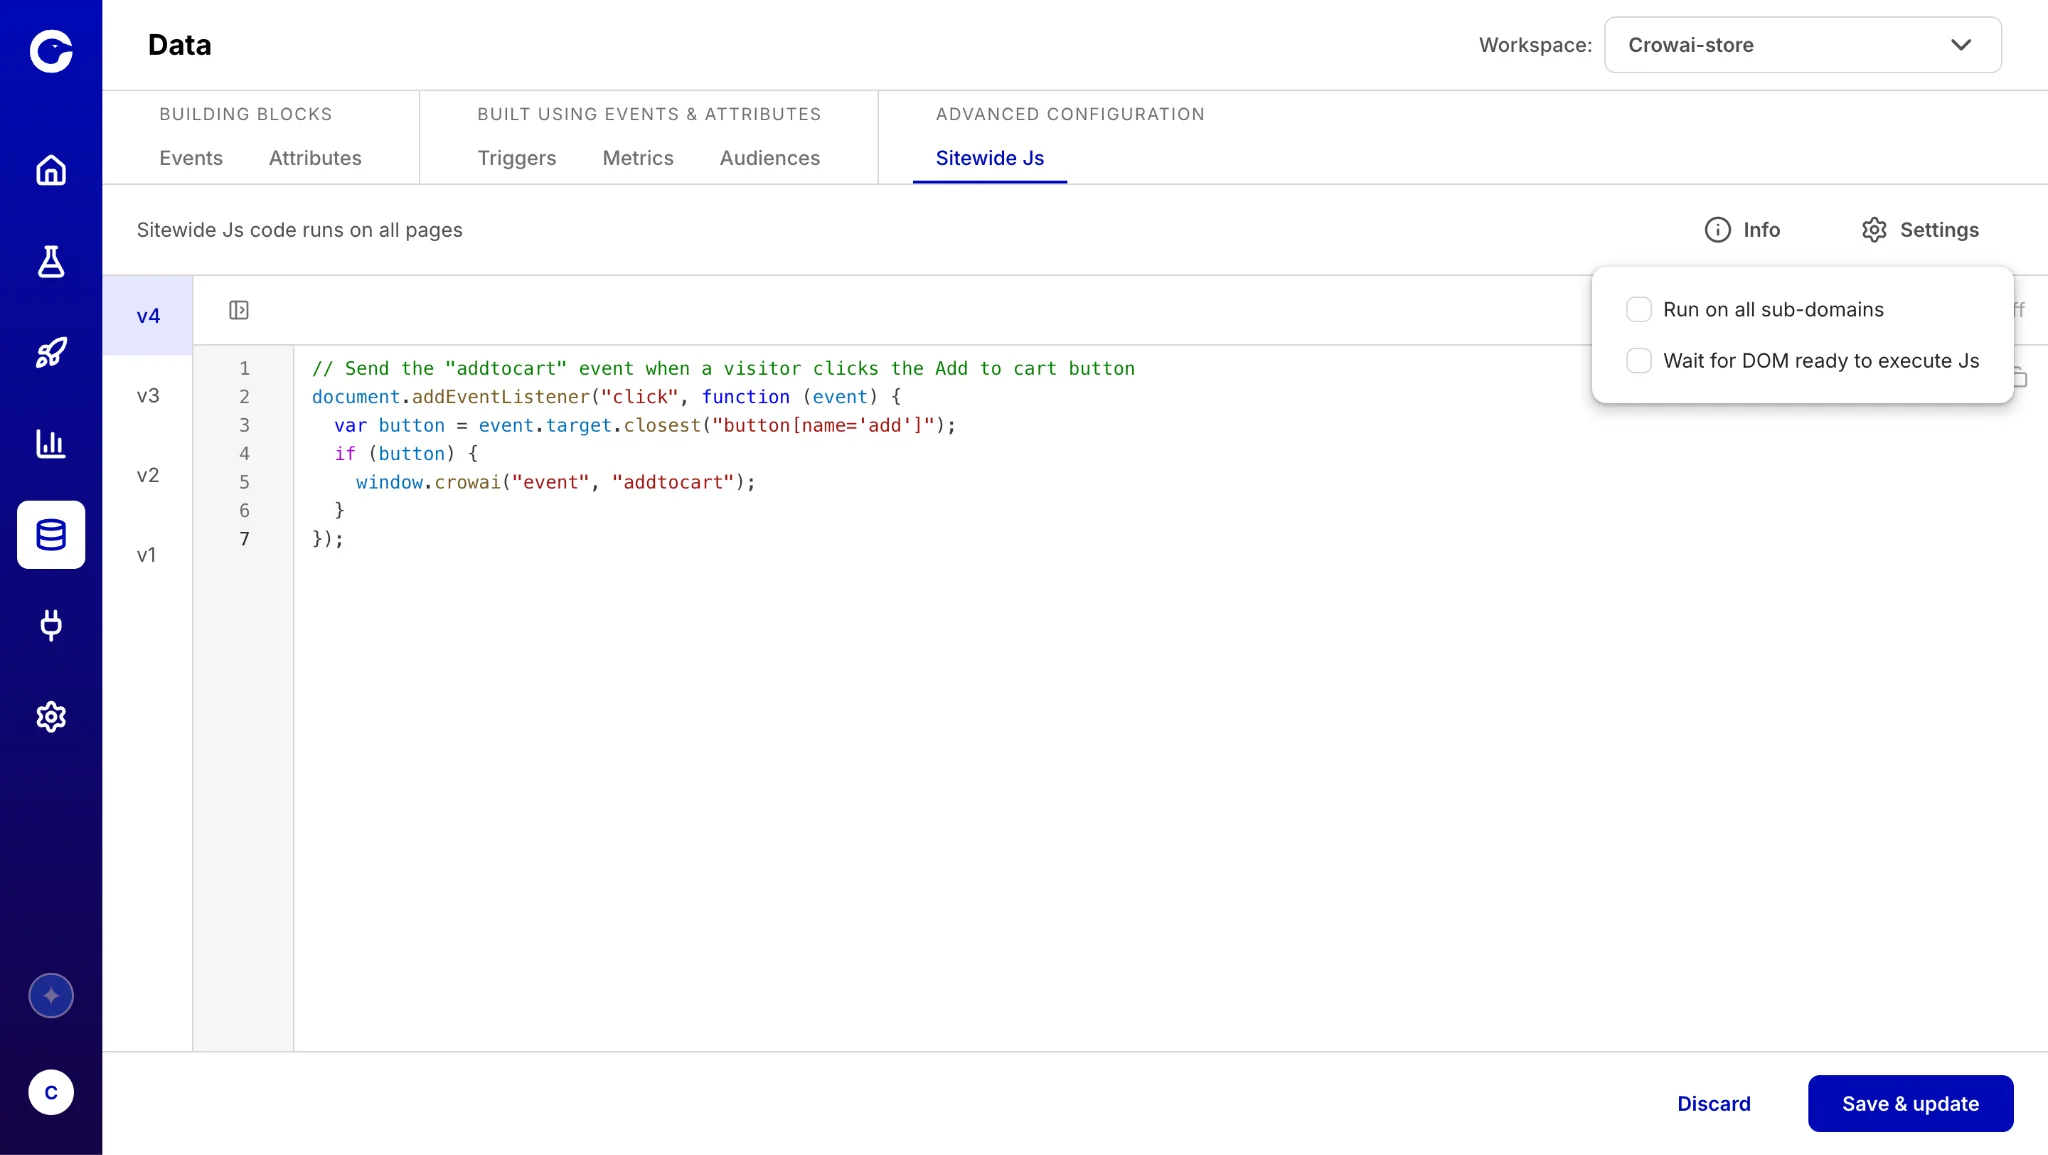
Click Settings to see the available options. Both are turned off by default.
- Run on all sub-domains: Run your code on subdomains too, such as shop.example.com.
- Wait for DOM ready to execute Js: Wait until the page's DOM is ready before running your code. Enable this if your code needs to access elements on the page.
Step 4: Save your changes
Click Save & update to publish your code. Your changes take effect right away.
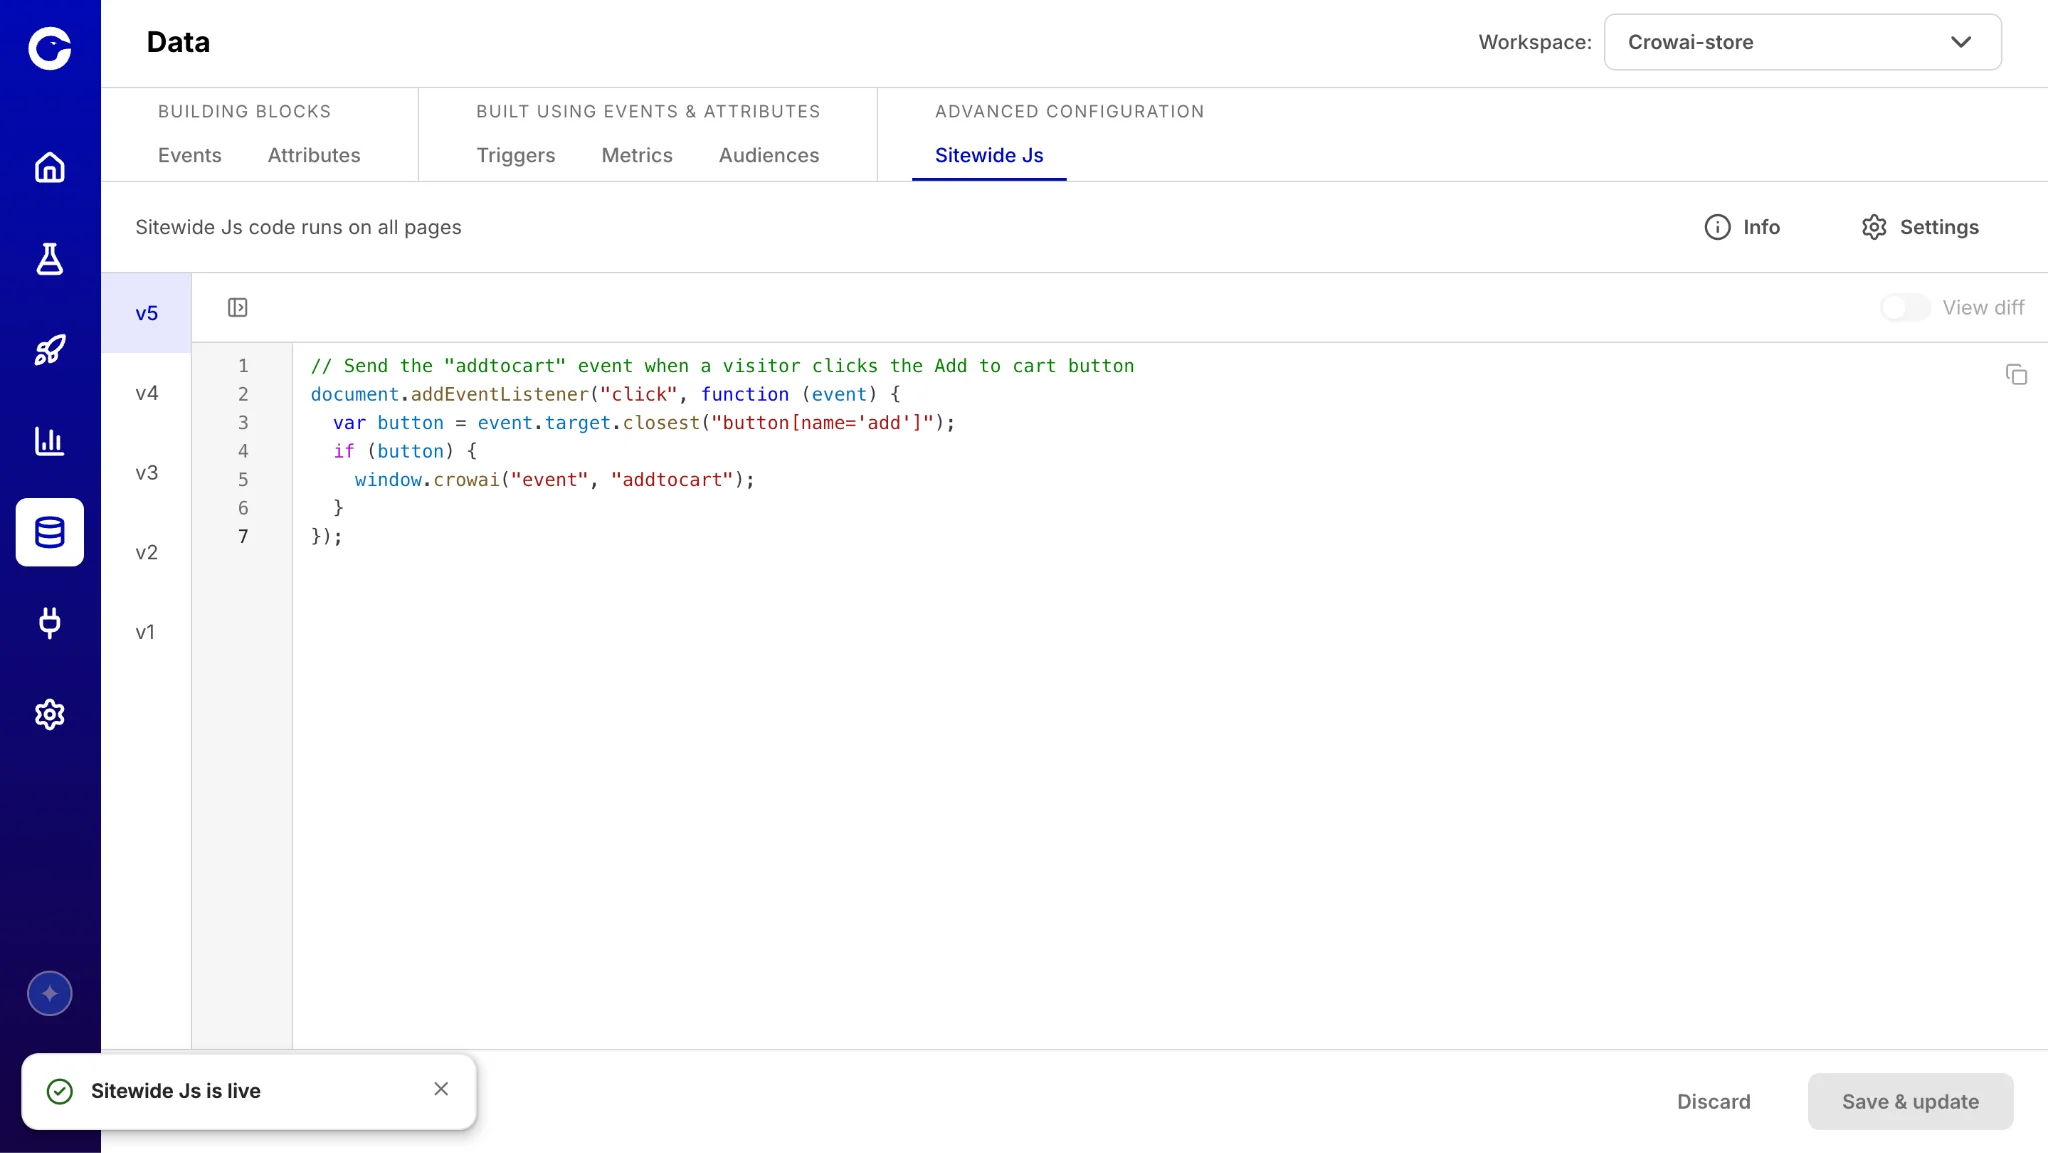
CrowAI creates a new version every time you save. You can view previous versions, compare changes using View diff, restore an earlier version, or rename a version. Versions are kept for 30 days.
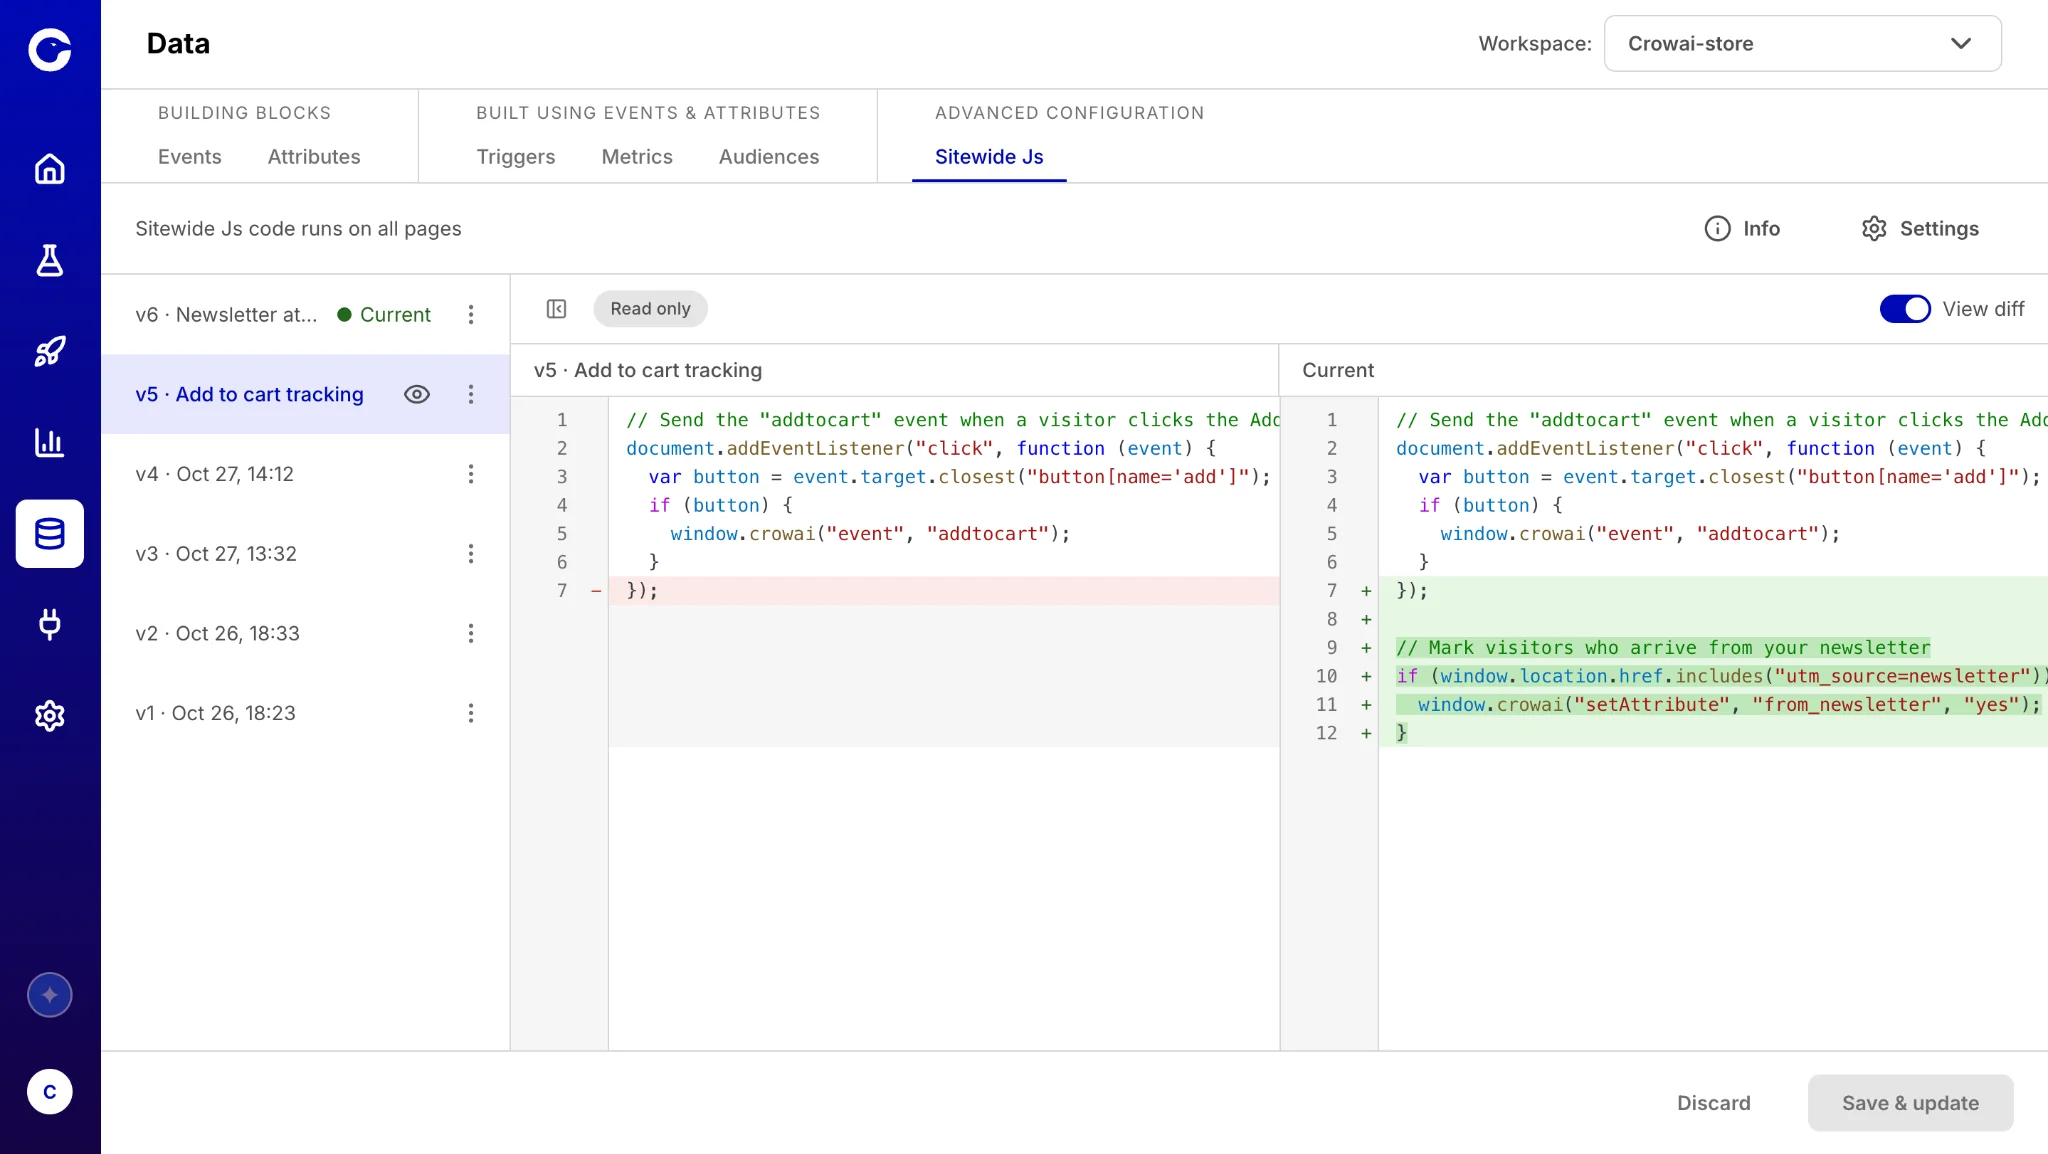
Note: Sitewide Js runs on every page with the CrowAI SmartCode, before any test runs. It runs only when one test or rollout is running in your workspace.
Set up Pre Js and Post Js
Step 1: Open Pre/Post Js
Open your test, go to the Metrics tab, and click Pre/Post Js.
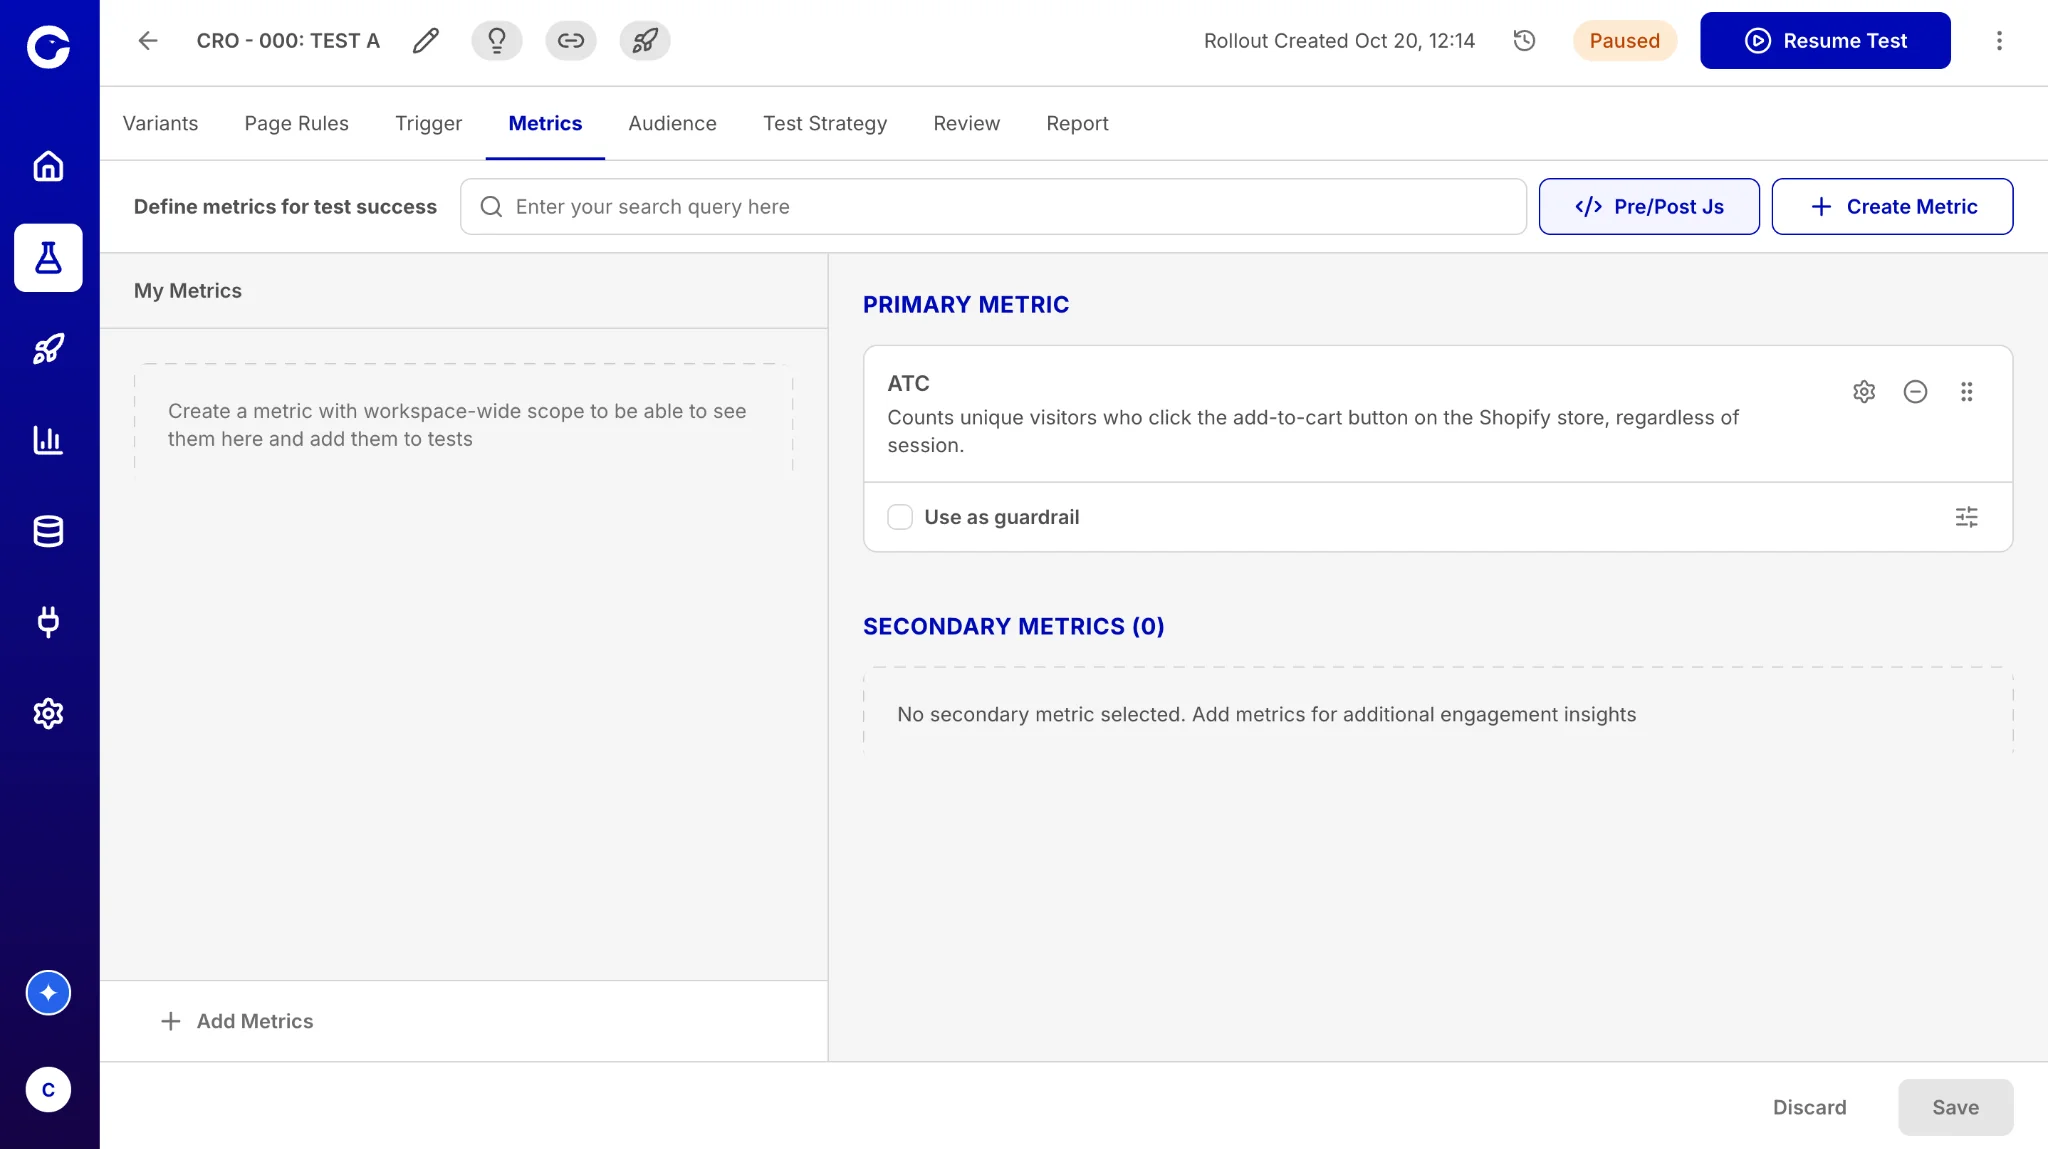
Step 2: Add your code and save
Choose the Pre Js or Post Js tab, add your JavaScript, and click Save & update.
You can't edit Pre Js or Post Js while the test is running.
Example: Target visitors by language
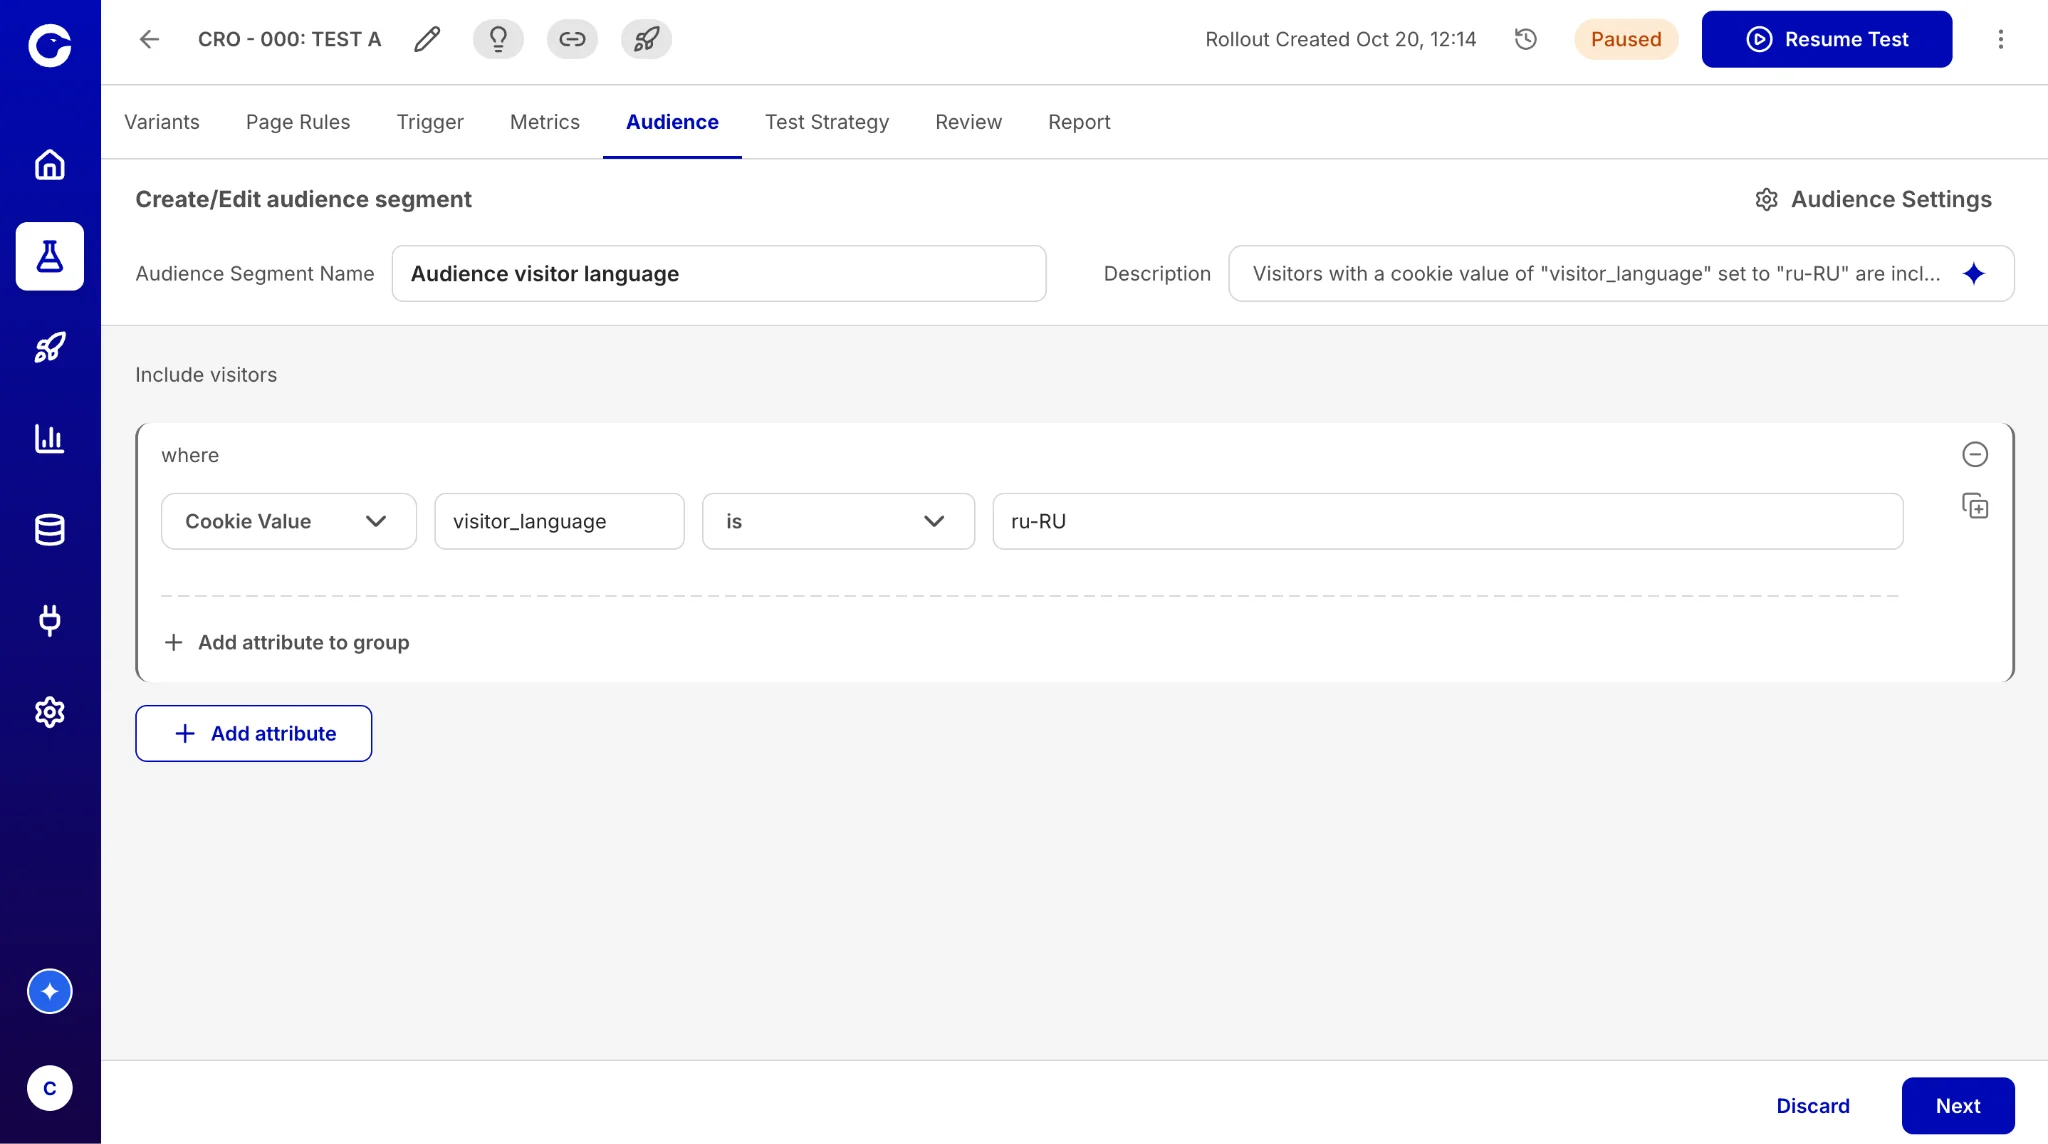
Your website saves each visitor's language in local storage, inside a JSON value such as {"language":"ru-RU"}. Audiences can't read local storage, so use Sitewide Js to copy the language into a cookie, then target that cookie.
Step 2: Create the audience
Open your test, go to the Audience tab and create an audience segment. Add a condition with Cookie Value, enter visitor_language as the cookie name, choose is, and enter ru-RU.
Step 3: Start your test
Sitewide Js runs before visitors are added to tests, so Russian-speaking visitors are included from their first page view.
Note: When the URL changes without a page reload, CrowAI runs Sitewide Js again, and Pre Js and Post Js too. To run your code only once per page load, add this at the top of the your script:
if (window.__onUrlChangeGuard) return;
window.__onUrlChangeGuard = true;